MindStudio POC - Billing Details
Overview
This Vapor application is a proof of concept for building AI agent managment systems. It provides a proxy layer over MindStudio, enabling users to run AI agents while maintaining detailed usage records for billing. It sits between your users and MindStudio’s AI agents, handling authentication, billing, monitoring, and providing a user-friendly interface.
Development Setup
Use ngrok (https://ngrok.com) to expose the localhost development environment to the internet. This is necessary because MindStudio needs to send callbacks to the system when agents complete their work.
While this example is written using Swift Vapor, the architecture principles will work with any programming language.
Database Design
The POC uses three main database tables that work together:
Users Table - The Customer Directory
This table stores information about people who can use the system:
| Column | Type | Description | Example |
|---|---|---|---|
id |
UUID | Unique identifier | 123e4567-e89b-12d3 |
name |
String | User’s display name | “John Smith” |
email |
String | User’s email address | “john@company.com” |
created_at |
Timestamp | When account was created | 2024-01-15 09:30:00 |
updated_at |
Timestamp | Last time info was modified | 2024-03-22 14:15:00 |
No Authentication or Authorization: This is a POC, so I didn’t implement user authentication or authorization. In a real production system, you would add secure login and permission controls.
Agents Table - The Service Catalog
This table defines what AI agents are available and how to use them:
| Column | Type | Description | Example |
|---|---|---|---|
id |
UUID | Unique identifier | 456e7890-e12b-34d5 |
app_id |
String | MindStudio’s ID for this agent | “cc526643-122b-4dc3-817c” |
name |
String | Human-readable name | “YouTube Video Summarizer” |
description |
String | What this agent does | “Analyzes YouTube videos and extracts…” |
api_endpoint |
String | Where to send requests | “https://v1.mindstudio-api.com/…” |
api_token |
String? | Secret key for authentication | “sk_abc123…” (hidden for security) |
request_body_template |
JSON | Template for building requests | {“appId”: “…”, “variables”: {…}} |
response_mapping |
JSON | How to read responses | {“success”: “success”, “result”: “data”} |
workflow |
String? | Default workflow to use | “Main” |
is_active |
Boolean | Whether this agent is available | true |
MindStudio Agents: These are agents built in MindStudio. You can add more by creating them in MindStudio and then adding their configurations here.
BillingRecord Table - The Transaction Log
This table tracks the use of an agent, recording both the llm cost and the actual results.
| Column | Type | Description | Example |
|---|---|---|---|
id |
UUID | Unique transaction ID | 789e0123-e45f-67g8 |
user_id |
UUID | Who made the request | (links to Users table) |
agent_id |
UUID | Which agent was used | (links to Agents table) |
thread_id |
String? | MindStudio’s tracking ID | “thread_abc123xyz” |
status |
String | Current status | “completed”, “pending”, “failed” |
result |
String? | The agent’s response | “This video discusses…” |
billing_cost |
Double? | Cost in dollars | 0.25 |
request_variables |
JSON | What inputs were provided | {“youtubeURL”: “https://…”} |
workflow |
String? | Which workflow was used | “Main” |
callback_completed |
Boolean | Did we get the final result? | true |
runtime_seconds |
Double? | How long it took | 45.3 |
created_at |
Timestamp | When request started | 2024-03-22 10:15:30 |
updated_at |
Timestamp | Last status update | 2024-03-22 10:16:15 |
Agent Configuration Anatomy
Let’s break down each part of an agent configuration:
1. Basic Information
{
  "name": "YouTube Video Summarizer",
  "description": "Analyzes YouTube videos and extracts key insights",
  "is_active": true
}
- name: What users see in the interface
- description: Explains what this agent does
- is_active: Whether users can currently use this agent
2. MindStudio Integration
{
  "app_id": "cc526643-122b-4dc3-817c-7056890e1299",
  "api_endpoint": "https://v1.mindstudio-api.com/developer/v2/apps/run",
  "api_token": "sk_abc123...",
  "workflow": "Main"
}
- app_id: MindStudio’s unique identifier for this specific agent
- api_endpoint: Where to send requests (same for all MindStudio agents)
- api_token: Secret authentication key (keep this secure!)
- workflow: Which workflow to run within the agent
3. Request Template
{
  "request_body_template": {
    "appId": "cc526643-122b-4dc3-817c-7056890e1299",
    "variables": {},
    "workflow": "Main.flow",
    "callbackUrl": "",
    "includeBillingCost": true
  }
}
This template is like a form letter - we fill in the blanks with actual values when making requests.
4. Response Mapping
{
  "response_mapping": {
    "success": "success",
    "threadId": "threadId",
    "result": "result",
    "billingCost": "billingCost",
    "callbackInProgress": "callbackInProgress"
  }
}
This tells our system where to find specific information in MindStudio’s response. Different agents might return data in different formats.
Note: In this POC, example variables have been removed for simplicity. Users enter variables as JSON directly without guided examples.
The Callback System
AI processing often takes time, from seconds to hours. Instead of keeping users waiting with a loading screen or holding a connection open (which can timeout), we use an asynchronous callback pattern to notify the client once the operation is complete.
1. User Request → Your System → MindStudio
2. MindStudio says: "Got it, I'll work on this. Here's a thread ID."
3. Your System saves the thread ID and tells the user: "Request received, processing..."
4. [Time passes while MindStudio processes]
5. MindStudio → Your System: "Finished! Here are the results."
6. Your System updates the database and can notify the user
How Callbacks Work
Step 1: Initial Request
User submits request → POC System → MindStudio
When a user submits a request:
- Validate the request
- Creates a billing record with status “pending”
- Send the request to MindStudio
- MindStudio responds immediately with: “Got it! Thread ID: abc123”
- Updates billing record with thread ID and status “running”
- Alert the user that processing has started and they’ll be notified when complete
Step 2: Processing Time
MindStudio processes in background
User can close browser, do other things
During this time:
- MindStudio is working on the request
- Your system is not tied up waiting
- Users can continue using the system or even leave and come back
Step 3: Completion Callback
MindStudio completes → Calls your callback URL → The system updates billing
When MindStudio finishes:
- MindStudio makes a POST request to your callback URL
- The callback URL includes the billing record ID
- System updates the billing record with results and final cost
Callback URL Generation
The callback URL is carefully constructed to be both secure and functional:
Base URL: https://your-domain.com/api/callback/
Billing Record ID: 123e4567-e89b-12d3-a456-426614174000
Full Callback URL: https://your-domain.com/api/callback/123e4567-e89b-12d3-a456-426614174000
Callback Processing Flow
When your system receives a callback:
1. Validate the Request
// Extract billing record ID from URL path
// This ID tells us which specific transaction MindStudio is reporting on
guard let recordId = req.parameters.get("recordId", as: UUID.self) else {
    throw Abort(.badRequest, reason: "Invalid record ID")
}

// Find the corresponding billing record in our database
// If we can't find it, the callback might be for a deleted or invalid record
guard let billingRecord = try await BillingRecord.find(recordId, on: req.db) else {
    throw Abort(.notFound, reason: "Billing record not found")
}
2. Parse the Results
// Decode MindStudio's callback data into a structured format
// This converts the raw JSON response into Swift objects we can work with
let callbackRequest = try req.content.decode(CallbackRequest.self)

// Extract the important information from MindStudio's response
// Store the actual result (like the video summary) and success status
billingRecord.result = callbackRequest.result
billingRecord.success = callbackRequest.success
3. Process Billing Information
// Parse billing cost from MindStudio's response
// MindStudio might send costs as "$0.25" or "0.25", so we handle both formats
if let billingCostString = callbackRequest.billingCost {
    // Remove dollar sign if present and convert to a number
    let cleanCostString = billingCostString.replacingOccurrences(of: "$", with: "")
    billingRecord.billingCost = Double(cleanCostString) ?? 0.0
}

// Calculate how long the agent took to complete its work
// This helps us understand performance and optimize our system
if let startTime = billingRecord.createdAt {
    let runtime = Date().timeIntervalSince(startTime)
    // Round to 3 decimal places for clean display (e.g., 45.123 seconds)
    billingRecord.runtimeSeconds = round(runtime * 1000) / 1000
}
4. Update Status
// Mark the transaction as completed or failed based on MindStudio's response
// This updates the status that users see in the interface
billingRecord.status = callbackRequest.success ? "completed" : "failed"
billingRecord.callbackCompleted = true  // Flag that we've received the final result

// Save all changes to the database
// This makes the updated information available to users and other parts of the system
try await billingRecord.save(on: req.db)
Billing Implementation
Billing Lifecycle
The billing system tracks costs through multiple stages:
Stage 1: Request Initiation (Cost Unknown)
{
  "status": "pending",
  "billing_cost": null,
  "callback_completed": false,
  "created_at": "2024-03-22T10:15:30Z"
}
Stage 2: Processing Started (Cost Still Unknown)
{
  "status": "running",
  "thread_id": "thread_abc123",
  "billing_cost": null,
  "callback_completed": false
}
Stage 3: Processing Complete (Final Cost Available)
{
  "status": "completed",
  "thread_id": "thread_abc123",
  "result": "Video summary: This video discusses...",
  "billing_cost": 0.25,
  "callback_completed": true,
  "runtime_seconds": 45.3,
  "updated_at": "2024-03-22T10:16:15Z"
}
Cost Tracking Strategy
Final Cost Capture
The actual cost comes through the callback:
// Parse final cost from callback
if let billingCostString = callbackRequest.billingCost {
    // Handle different formats: "$0.25", "0.25"
    let cleanCostString = billingCostString.replacingOccurrences(of: "$", with: "")

    billingRecord.billingCost = Double(cleanCostString) ?? 0.0
}
Runtime Cost Calculation
Track execution time for performance analysis:
// Calculate how long the operation took
if let startTime = billingRecord.createdAt {
    let endTime = Date()
    let runtime = endTime.timeIntervalSince(startTime)
    billingRecord.runtimeSeconds = round(runtime * 1000) / 1000  // Round to 3 decimal places
}
Status Definitions:
- pending: Request received, not yet sent to MindStudio
- running: Sent to MindStudio, waiting for completion
- completed: Finished successfully, final cost recorded
- failed: Something went wrong, investigate needed
Implementation Walkthrough
Step 1: Setting Up the Database
Create the Tables
# Run the database migrations
swift run App migrate

# Seed with sample data
swift run App migrate --revert  # If you need to reset
swift run App migrate
Step 2: Configuring Your First Agent
Add Agent Configuration
This configuration is written to the database and made available to users through the UI. In the POC, I’m using a database seeding process to add this agent configuration.
// In SeedAgents.swift
let youtubeAgent = Agent(
    appId: "your-mindstudio-app-id",
    name: "YouTube Video Summarizer",
    description: "Analyzes YouTube videos and extracts insights",
    apiEndpoint: "https://v1.mindstudio-api.com/developer/v2/apps/run",
    apiToken: "your-api-token-here",
    requestBodyTemplate: [
        "appId": AnyCodable("your-mindstudio-app-id"),
        "variables": AnyCodable([String: String]()),
        "workflow": AnyCodable("Main.flow"),
        "callbackUrl": AnyCodable(""),
    ],
    responseMapping: [
        "success": "success",
        "threadId": "threadId",
        "result": "result",
        "billingCost": "billingCost",
        "callbackInProgress": "callbackInProgress"
    ],
    workflow: "Main",
    isActive: true
)
Important Configuration Notes:
- appId: Get this from your MindStudio dashboard
- apiToken: Keep this secret!
- requestBodyTemplate: This is the base structure MindStudio expects
- responseMapping: Tells the system where to find data in responses
- workflow: Default workflow to use for this agent
Environment Variables: Create a .env file with:
CALLBACK_BASE_URL=https://your-domain.com
Step 3: Setting Up Callbacks
Configure Your Base URL
// In configure.swift or environment variables
let baseURL = Environment.get("CALLBACK_BASE_URL") ?? "http://localhost:8080"

// For development with ngrok:
// CALLBACK_BASE_URL=https://abc123.ngrok.io
This is critical because, in a development environment, the app usually runs on localhost. Using ngrok exposes your local environment to the internet, which allows MindStudio to send callbacks. Without this configuration, the callback will fail.
Step 4: Create a Test User
Again, there is code in the project to seed a handful of users for testing.
let testUser = User(
    name: "Test User",
    email: "test@example.com"
)
try await testUser.save(on: req.db)
Code Architecture
Service Layer Design
The MindStudioService is designed with separation of concerns:
1. Main Orchestration
private func sendAgentRequest(agent: Agent, userVariables: [String: String], callbackURL: String, on req: Request) async throws -> AgentResponse {
    // This method just coordinates the process
    let requestBody = buildRequestBody(agent: agent, userVariables: userVariables, callbackURL: callbackURL)
    let clientRequest = try buildHttpRequest(agent: agent, body: requestBody, on: req)
    let clientResponse = try await req.client.send(clientRequest)
    return try processResponse(clientResponse, agent: agent, on: req)
}
2. Authentication Handling
private func configureAuthentication(for clientRequest: inout ClientRequest, agent: Agent) throws {
    // Focused solely on setting up authentication
    guard let apiToken = agent.apiToken, !apiToken.isEmpty else {
        throw Abort(.badRequest, reason: "Agent API token not configured for agent \(agent.appId)")
    }
    clientRequest.headers.add(name: "Authorization", value: "Bearer \(apiToken)")
}
3. Request Building
private func buildHttpRequest(agent: Agent, body: [String: AnyCodable], on req: Request) throws -> ClientRequest {
    // Handles HTTP request construction
    let url = URI(string: agent.apiEndpoint)
    var clientRequest = ClientRequest(method: .POST, url: url)

    try configureAuthentication(for: &clientRequest, agent: agent)
    clientRequest.headers.add(name: "Content-Type", value: "application/json")

    // Encode and attach body
    let encoder = JSONEncoder()
    let data = try encoder.encode(body)
    clientRequest.body = .init(data: data)

    return clientRequest
}
4. Response Processing
private func processResponse(_ response: ClientResponse, agent: Agent, on req: Request) throws -> AgentResponse {
    // Validates and decodes responses
    guard (200..<300).contains(response.status.code) else {
        throw Abort(.badRequest, reason: "Agent API error: \(response.status)")
    }

    let decoder = JSONDecoder()
    let rawResponse = try decoder.decode([String: AnyCodable].self, from: response.body)
    return mapResponse(raw: rawResponse, mapping: agent.responseMapping)
}
Error Handling Philosophy
The system uses graceful degradation - it tries to continue working even when things go wrong:
1. Fail Fast for Configuration Errors
// If agent is misconfigured, fail immediately
guard let apiToken = agent.apiToken, !apiToken.isEmpty else {
    throw Abort(.badRequest, reason: "Agent not properly configured")
}
2. Graceful Error Handling
// If request fails, update billing record appropriately
catch {
    billingRecord.status = "failed"
    billingRecord.result = "Failed to connect to MindStudio: \(error)"
    try await billingRecord.save(on: req.db)
    throw error
}
POC Simplifications
This implementation includes several simplifications appropriate for a proof of concept:
1. Basic Variable Input
The dashboard uses a simple textarea for JSON variable input without client-side validation. While this works for testing, a production system would benefit from:
- Real-time JSON validation
- Dynamic form fields based on agent requirements
- Input sanitization and error handling
- User-friendly variable builders
2. Minimal Error Handling
Error scenarios are handled basically. Production systems should include:
- Comprehensive error classification
- User-friendly error messages
- Automatic retry mechanisms
- Detailed error logging and alerting
3. Simple Authentication
The current system has basic user management. Production implementations should add:
- Secure authentication (OAuth, JWT)
- Role-based access control
- Session management
- API rate limiting
4. Basic Billing Tracking
While comprehensive for tracking, the billing system could be enhanced with:
- Automated invoicing
- Payment processing integration
- Budget alerts and limits
- Detailed cost breakdowns
Testing Your Integration
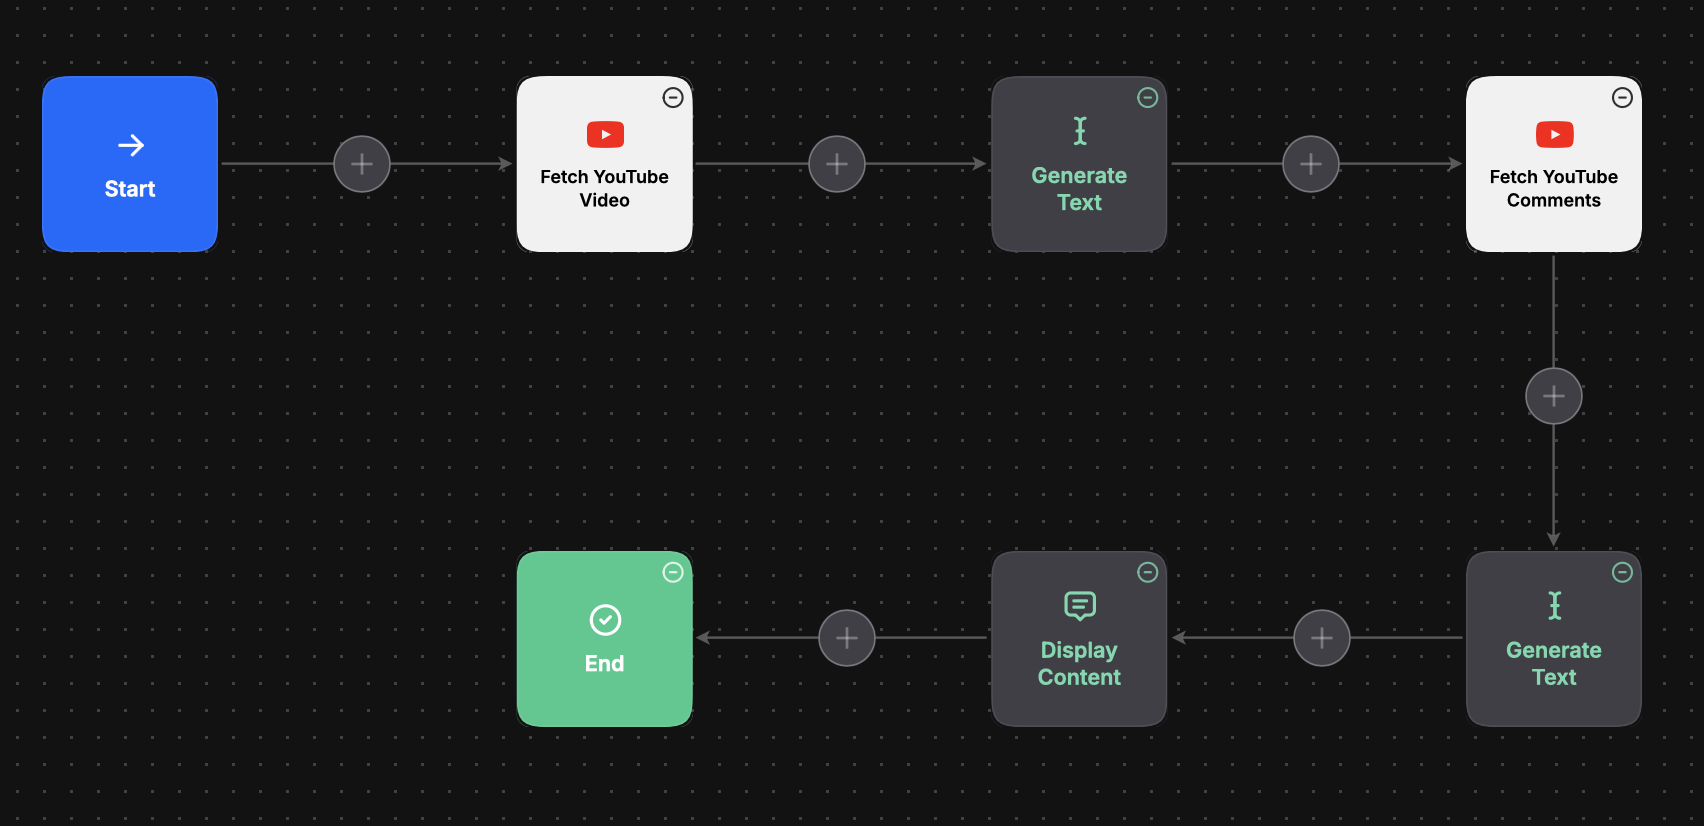
This example is using the Youtube Summerize, the important thing here is in the Start Block to set your launch Variable (ex: youtubleURL).
Step 1: Start Your Application
# Run the Vapor application
swift run App serve

# In another terminal, start ngrok
ngrok http 8080
Step 2: Update Your Environment
Copy the ngrok URL (e.g., https://abc123.ngrok.io) and update your .env file:
CALLBACK_BASE_URL=https://abc123.ngrok.io
Step 3: Test Agent Execution
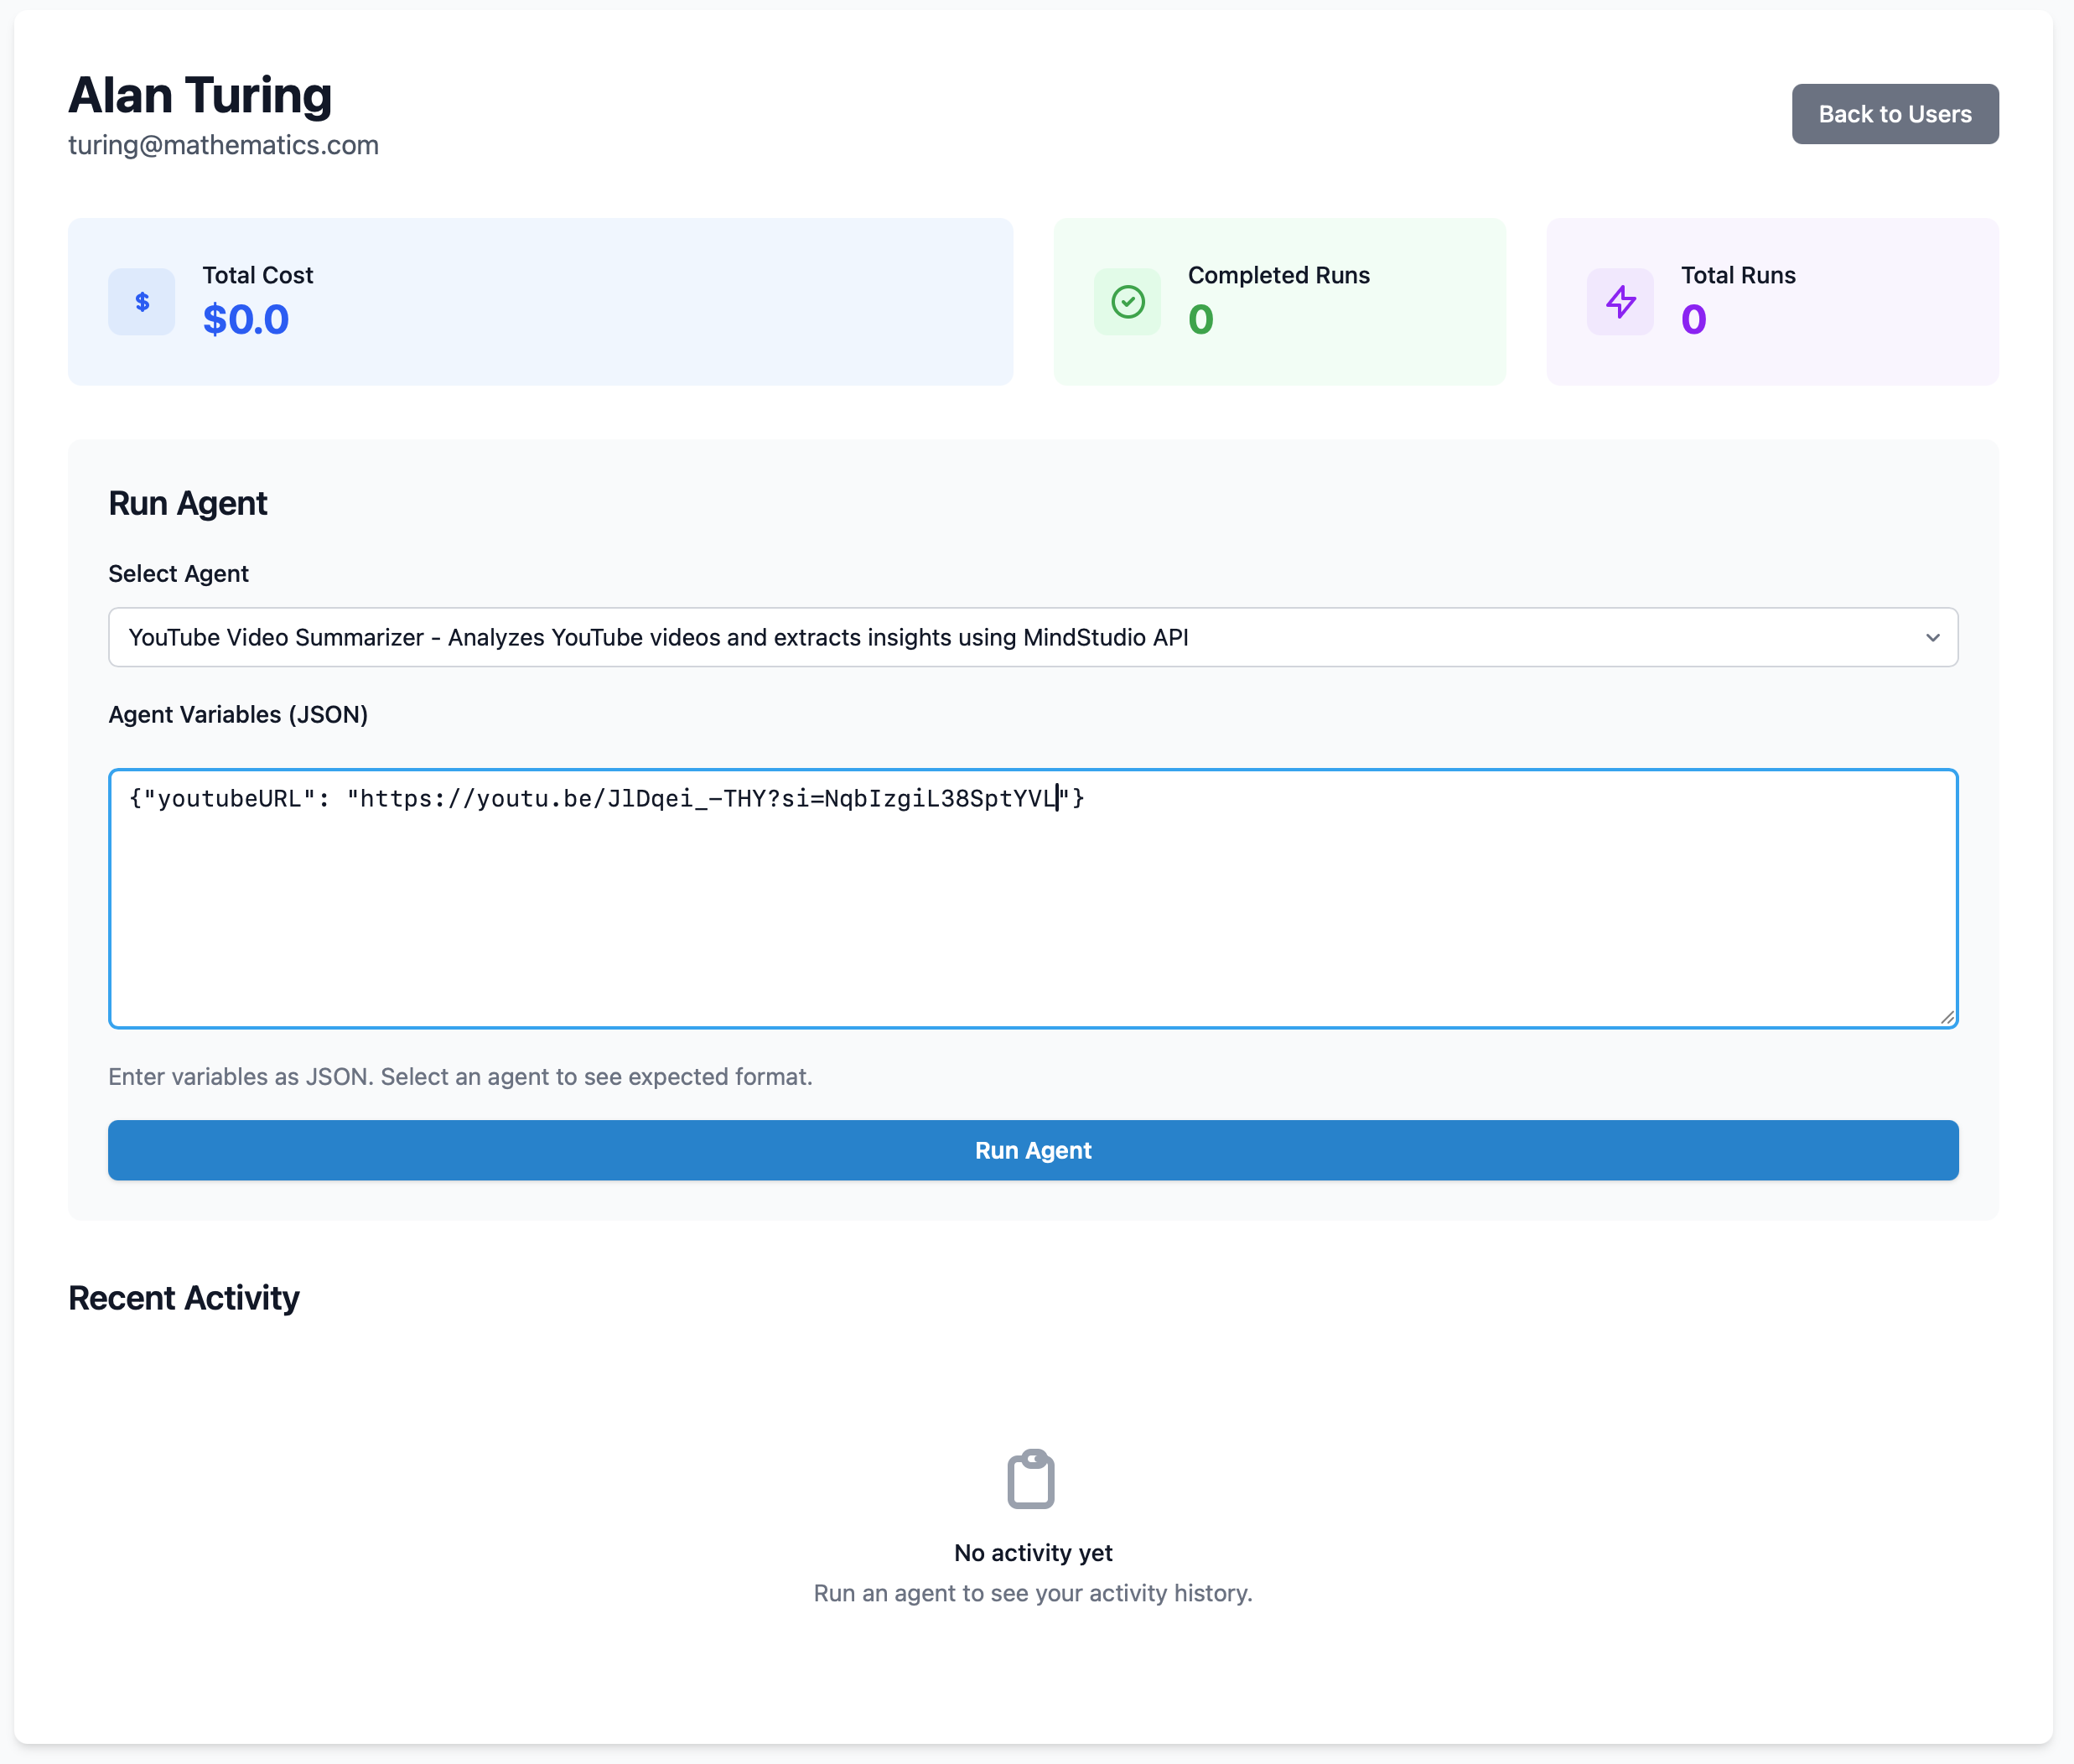
1. Open your web browser to the ngrok address and select a user.
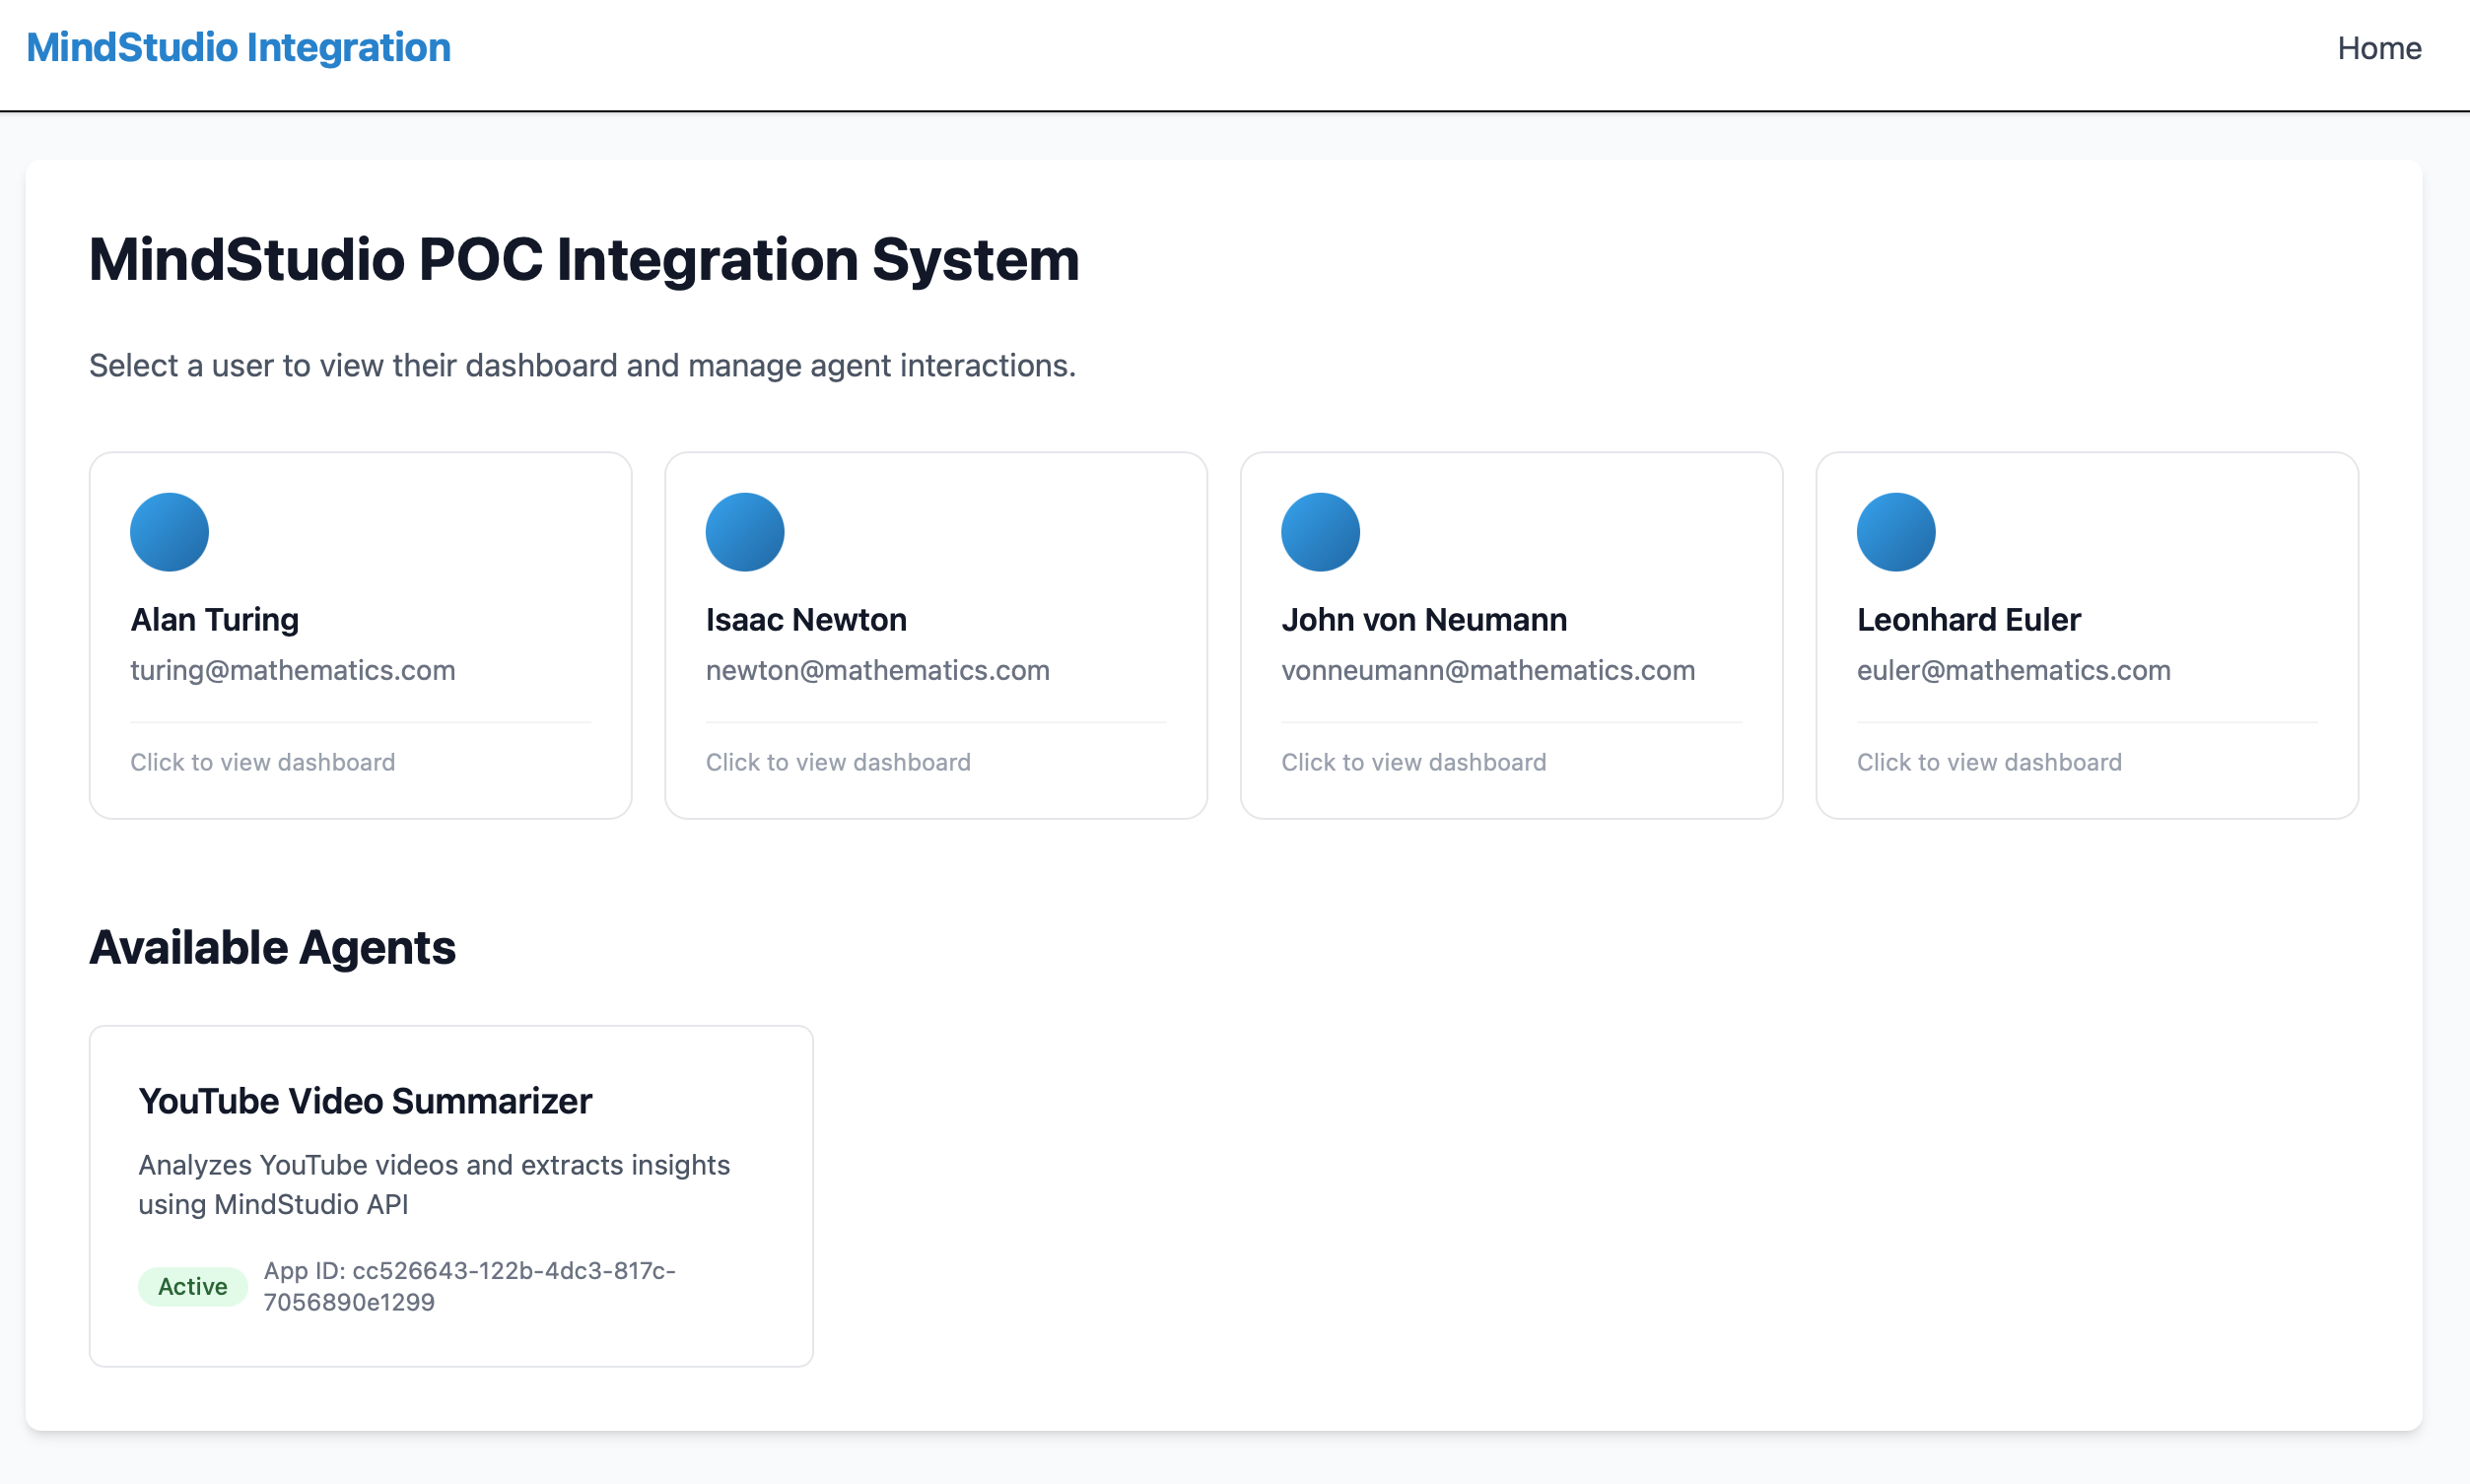
2. Choose an agent and add launch variable.
Example: ({"youtubeURL": "https://www.youtube.com/watch?v=example"})
3. Click “Run Agent”
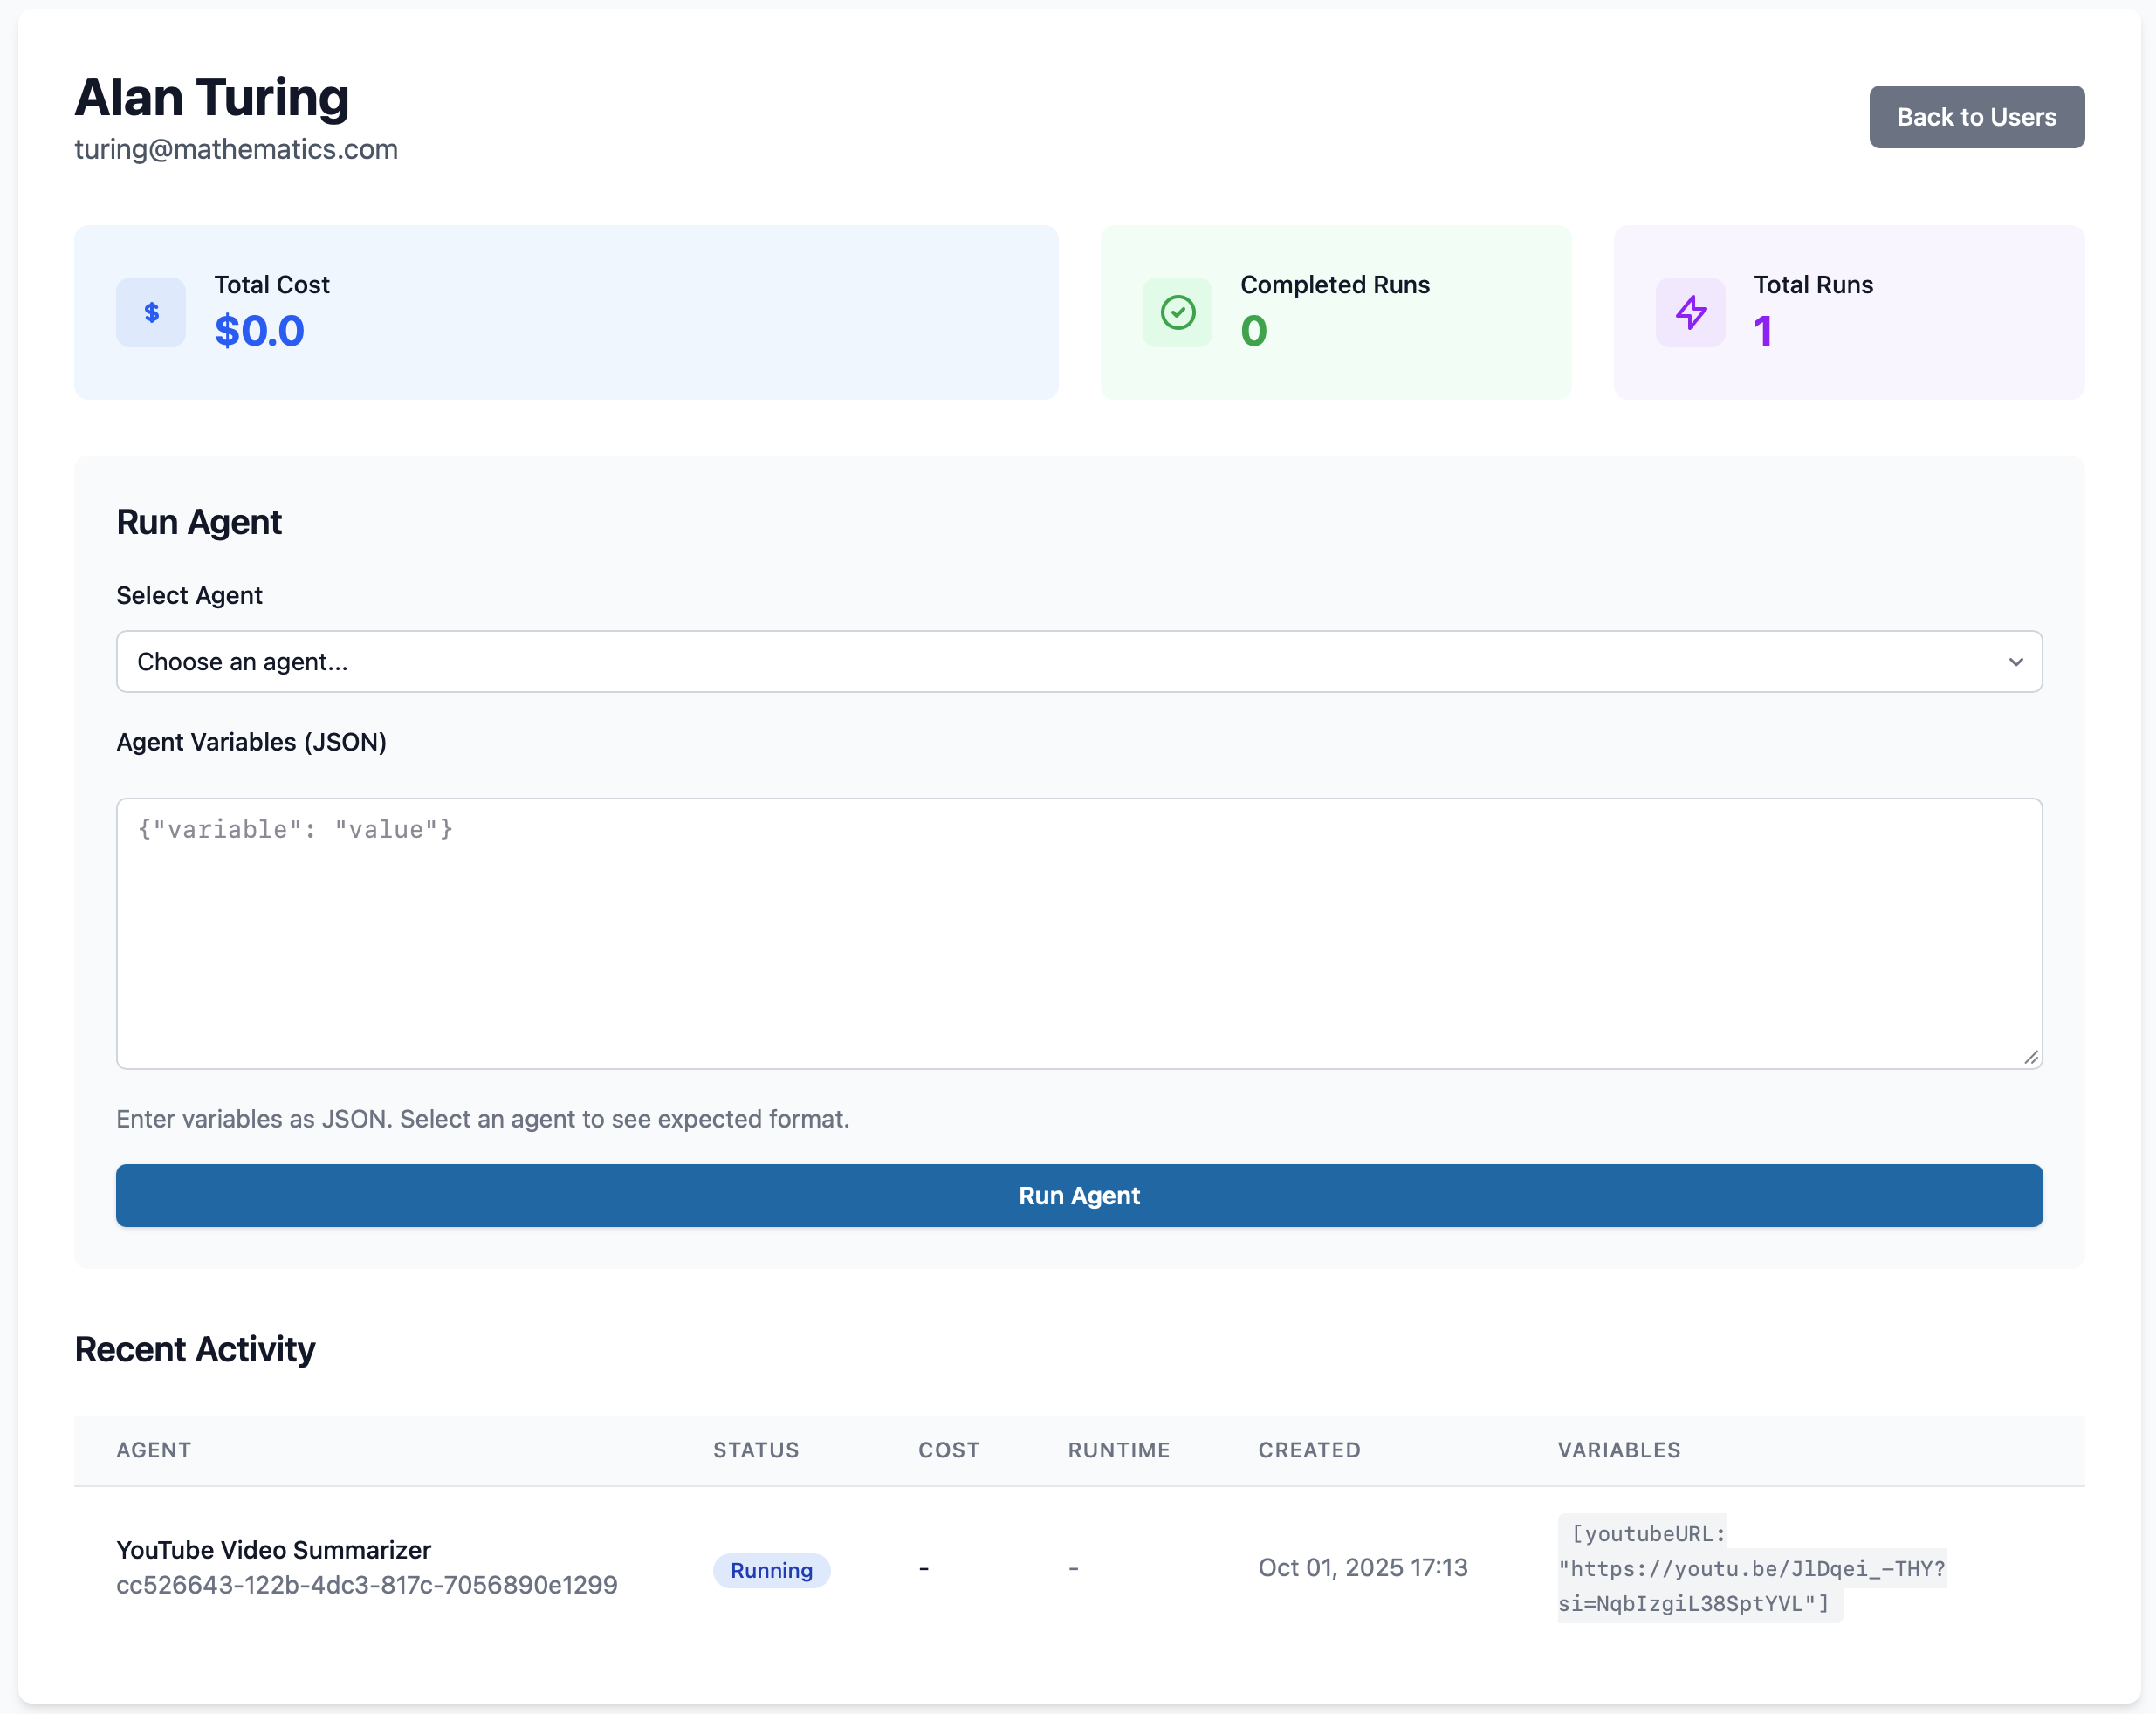
4. Watch the status change from “running” to “completed”
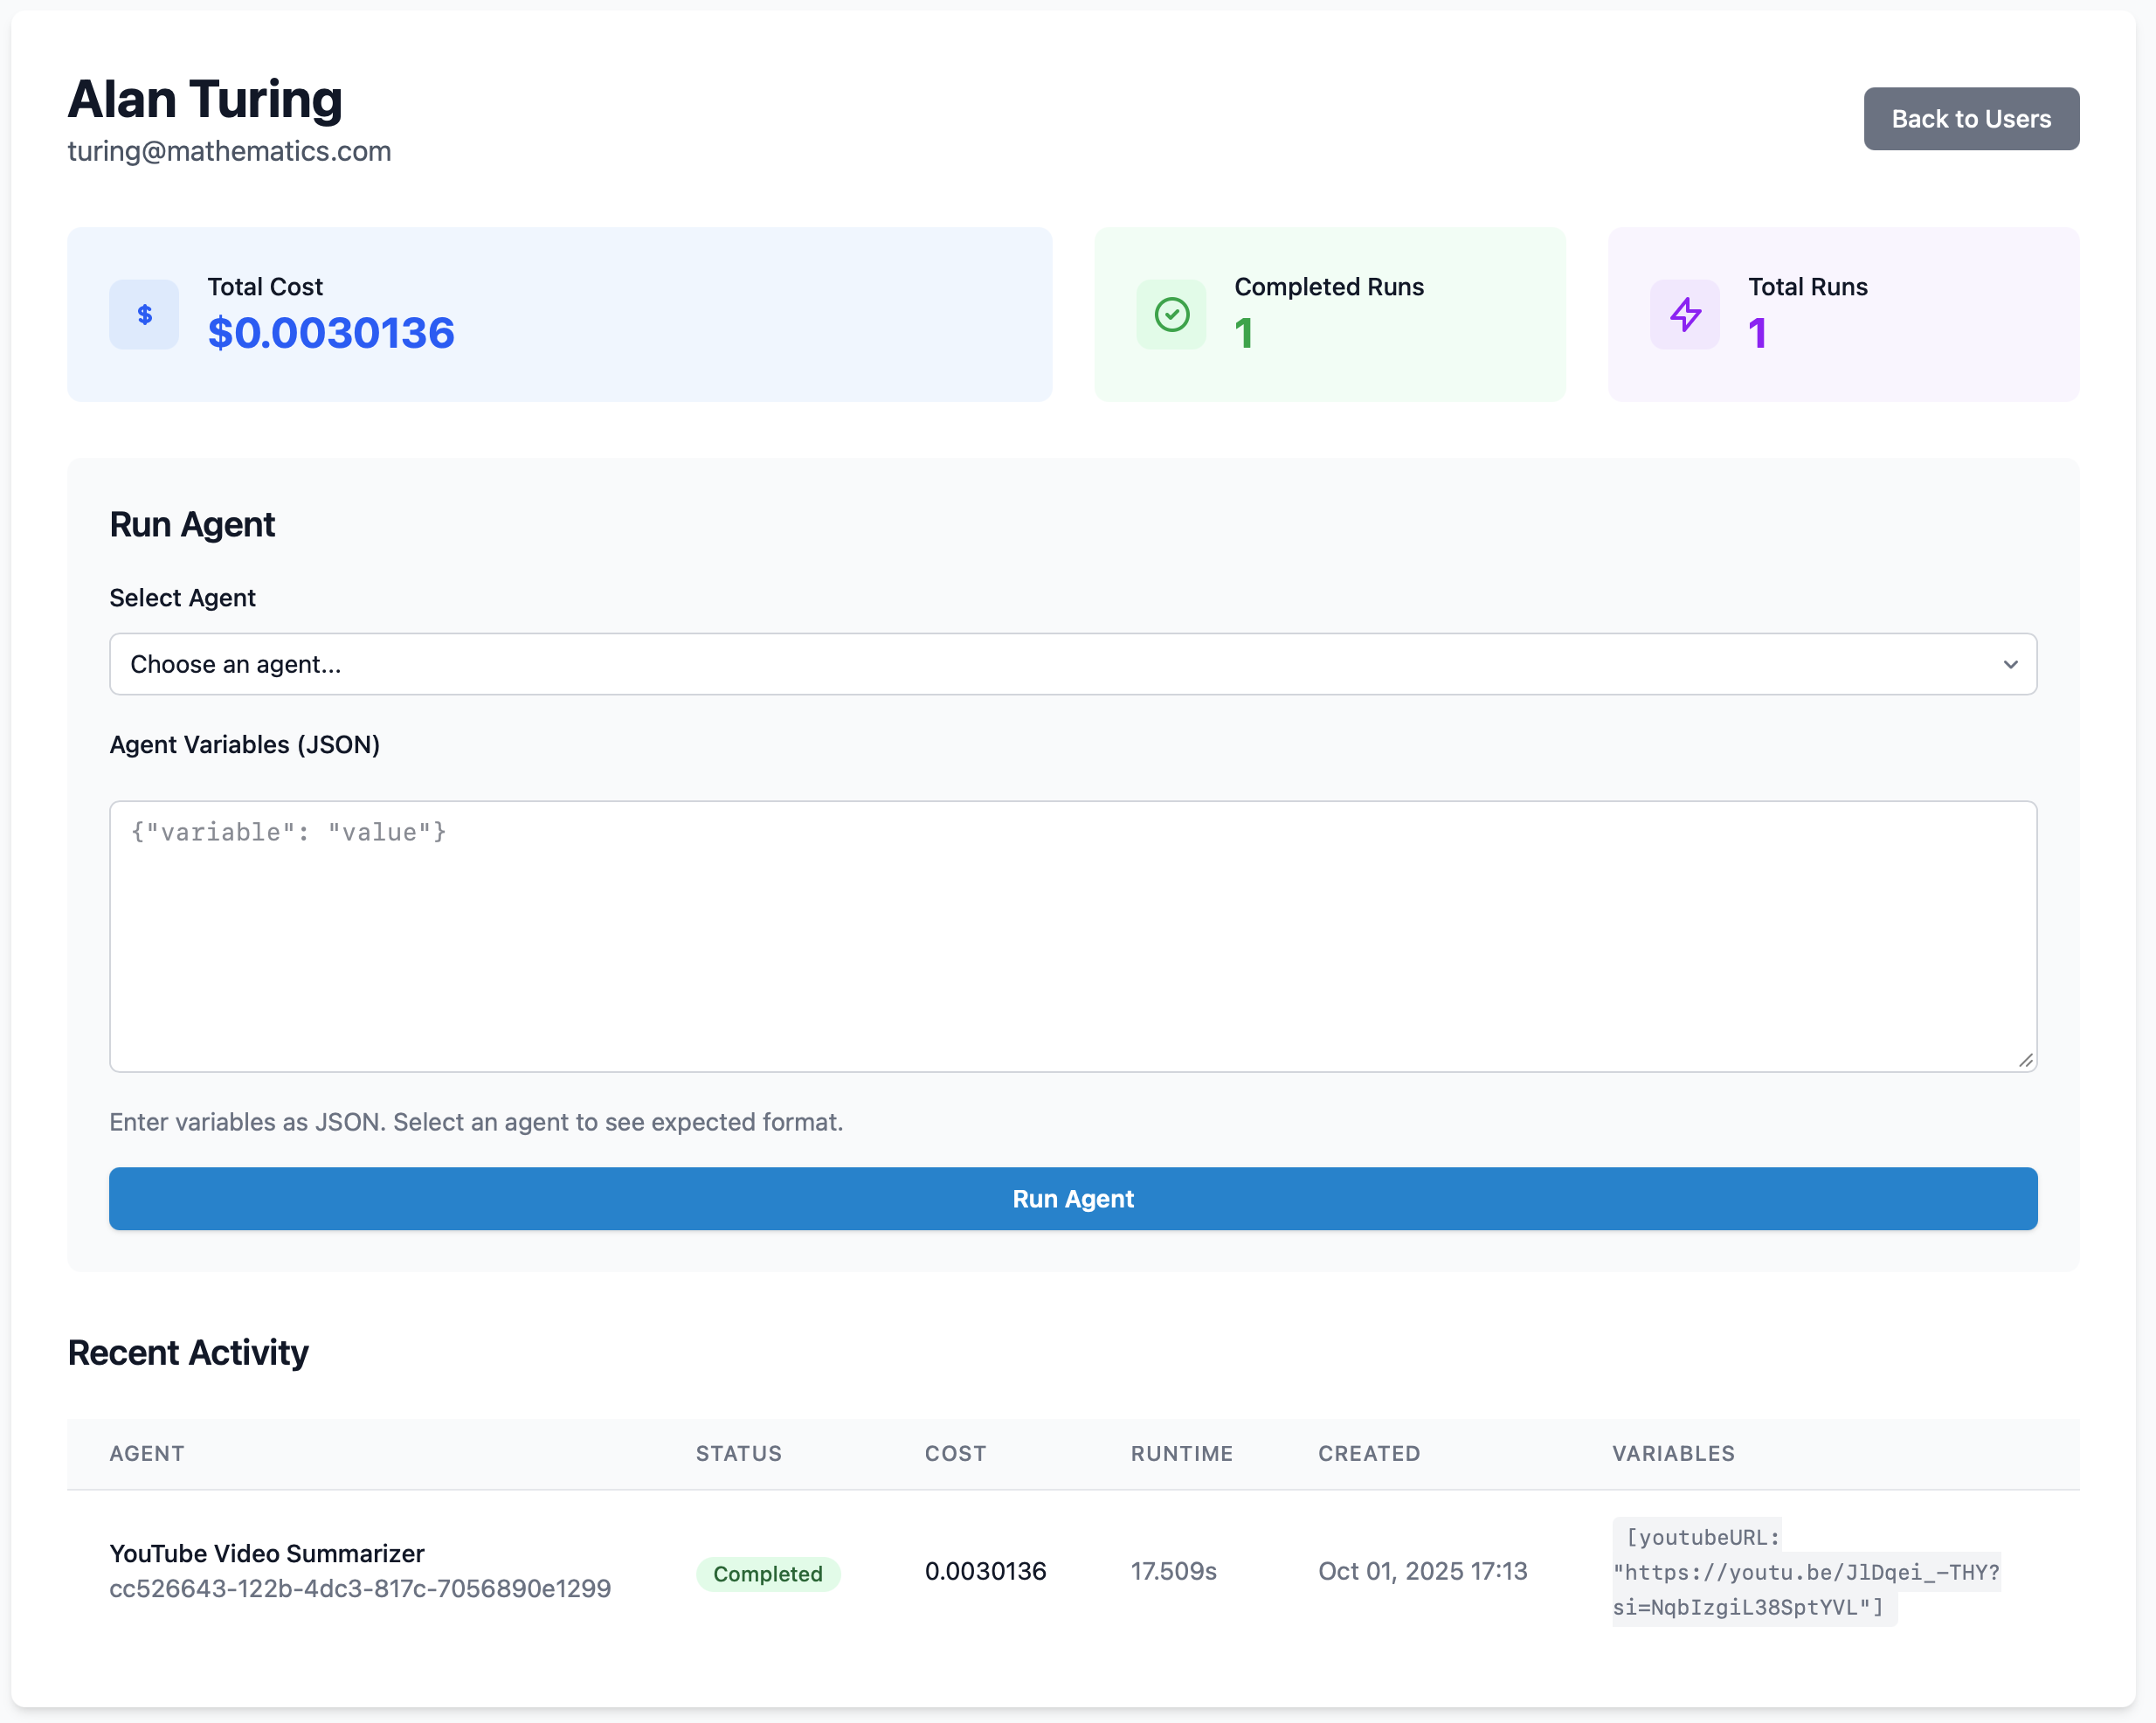
Step 4: Verify Callback Processing
Check your application logs to see the callback being received and processed. You should see:
[INFO] Callback received for billing record: cc526643-122b-4dc3-817c-7056890e1299
[INFO] Agent completed successfully with cost: $0.0030136
Github Repository
The complete source code for this proof of concept is available at: Github